The 2006 Volvo S60 T5 Saga
Our story starts on July 21, 2001. Me, my wife, and the three kids all piled into the Volvo to take a trip to Keystone Safari near Grove City, PA, about 80 miles from home. After an exhausting day, we headed back home. My wife was driving, since this outing was her idea, and I really didn’t relish the idea of driving all the way home.
Leaving Grove City, we headed into a rest area (With three kids, you NEVER skip a rest area on a trip), and Crystal was heading into the rest area a little hot, so I commented that she should slow down. Not more then 2 seconds later she whips into a parking space at around 20 MPH, and doesn’t slow as much as was needed approaching the parking curb. As I started to say something, I hear the gut wrenching crunch of the front bumper hitting the curb.
I knew it wouldn’t be great. I was imagining a crumpled bumper and having to secure it to make it home as a worst case scenario. As I got out of the car, a passing person said “You’re leaking something”. My glimmer of hope that it was condensate from the AC was quickly dashed when I walked to the front of the car to see this:

After calling my roadside assistance, and finding out that due to the distance from home, it would be ~$400, I called my folks and they graciously agreed to come rescue us. That evening, I polled my entire family and found that I could get it towed home for $80. So we got it hauled home and placed in the field next to my house. Ideally it would have been in the driveway, but a never ending driveway/hillside project kept that from happening.
After letting it sit until the following weekend, I set to work. First I removed the Front Bumper:

I Then pulled the headlights:
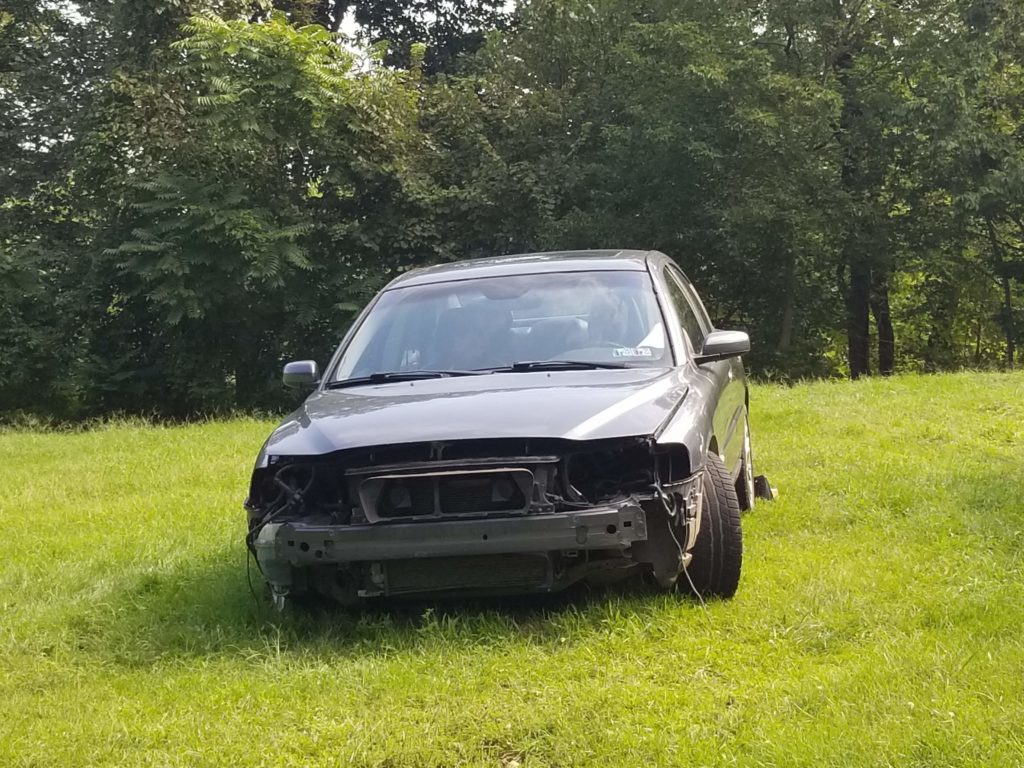
Getting the front pulled apart revealed the extent of the damaged. The drivers side foglight was completely destroyed, with only the lens remaining intact. The AC Condenser had the bottom most tube squished, there were missing mounting tabs on the front valance, an alignment dowel and mounting tab were broken on the bumper itself, and finally the radiator itself had a hole in the tank.
Since there was an issue with the passenger side headlight (The lock for the low beam bulb was broken and didn’t hold the bulb in place) and the only way to replace it is to pull the bumper, I decided to replace that entire assembly while the bumper was off. I also figured that since I was replacing the radiator I might as well do the hoses and the thermostat housing, since I was getting an intermittent CEL for coolant temp.
I put off the mechanical side of the project, in hopes the driveway would be completed before I finished the body work side of the repair. As we’ll see, that hope was in vain. Anyway, since the mechanical was on hold, I decided to set to work on restoring the two lights I was keeping. I’ve done headlight restorations before, but I’ve always been let down because you really need to apply a clear coat in order for it to last.
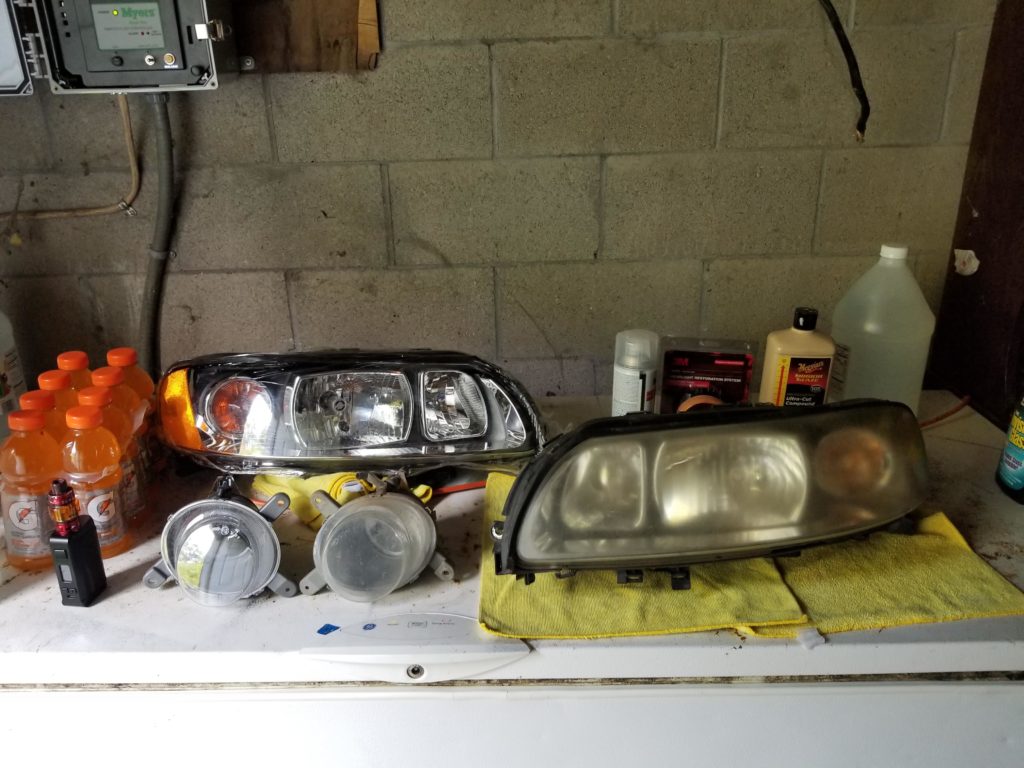
So I picked up a 3M repair kit, which has 500, 800, and 3000 grit paper as well as polishing compound and a sanding head you can put on your drill. Here is the old headlight and foglight next to the brand new ones:
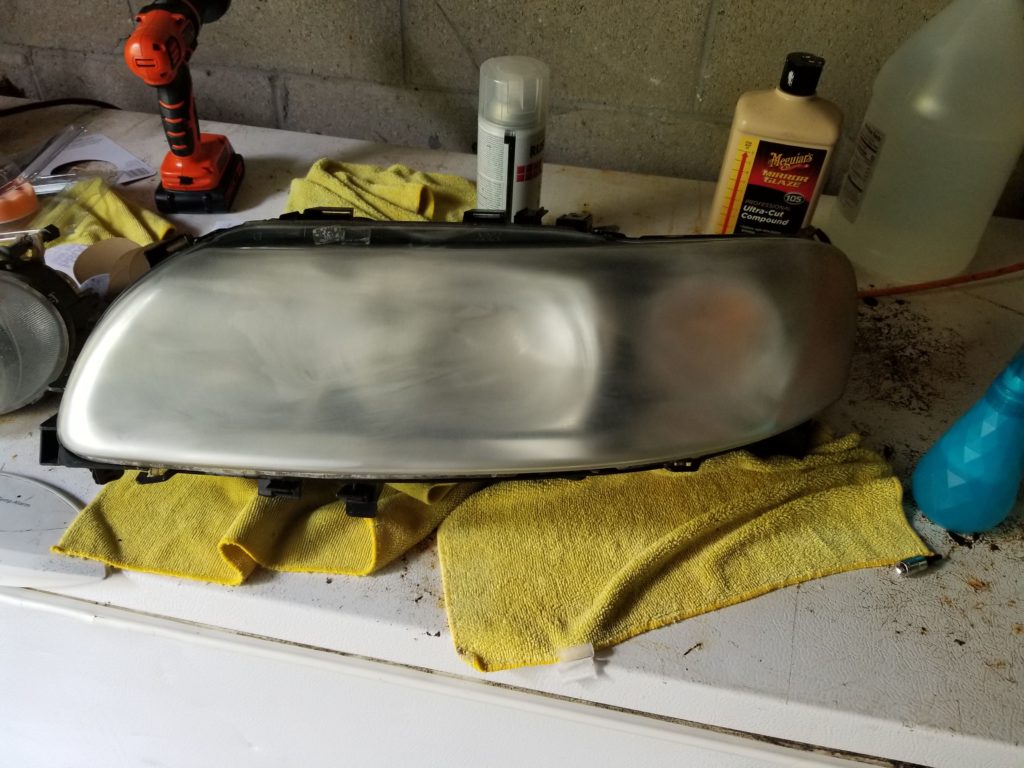
And here they are after sanding with 500:

This part of the repair is always the worst part because this is where everything looks like it’s screwed up and there’s no way it could get better now. But after you get through the 800 grit, you start to see things improving:

At this point you have 2 ways that you can go. You can sand out the scratches with the 3K pad, and then use the polishing compound of your choice, and even with a good wax, your lights are going to start yellowing in 6 months to a year. The alternative is to put on a GOOD clear coat, let it cure and color sand, polish, and wax or coat. This is the route I went with… But not before screwing the whole thing up once or twice. The overarching vision of Budget Beater Builds is to show you my process for fixing up vehicles every step of the way including the missteps. So here’s the first one.
Without thinking, I took the light all the way to 3K sandpaper, and then used Cutting Compound and Polishing Compound, and then applied my clear enamel. Here they are up to the polishing step:
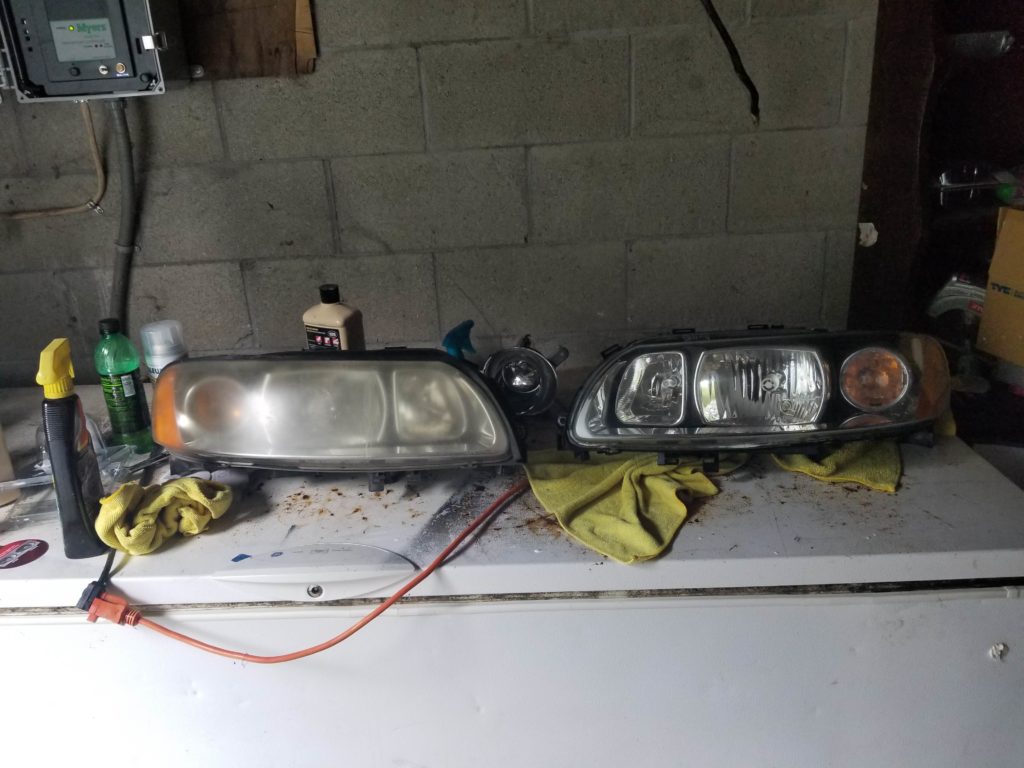
As you can see, It looks pretty good. The down side is that I have now introduced a ton of chemicals into the piece that I’m going to paint. Anyone who’s done paint knows this is a bad thing. After I sprayed a couple of light coats of clear I put two heavy coats:
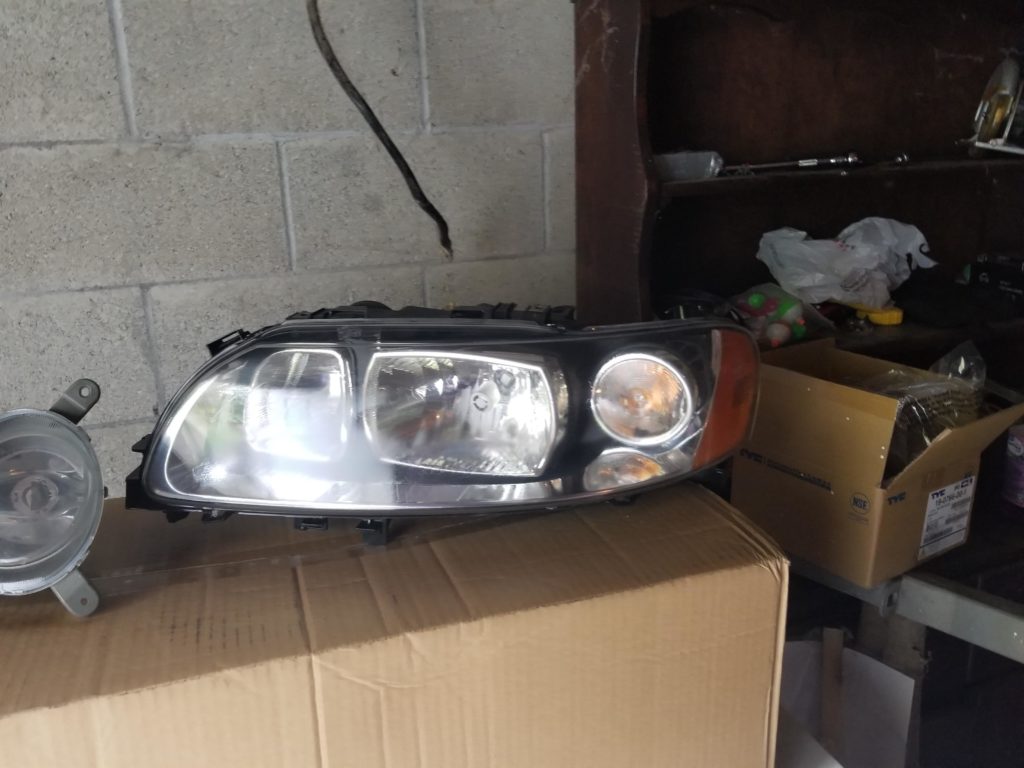
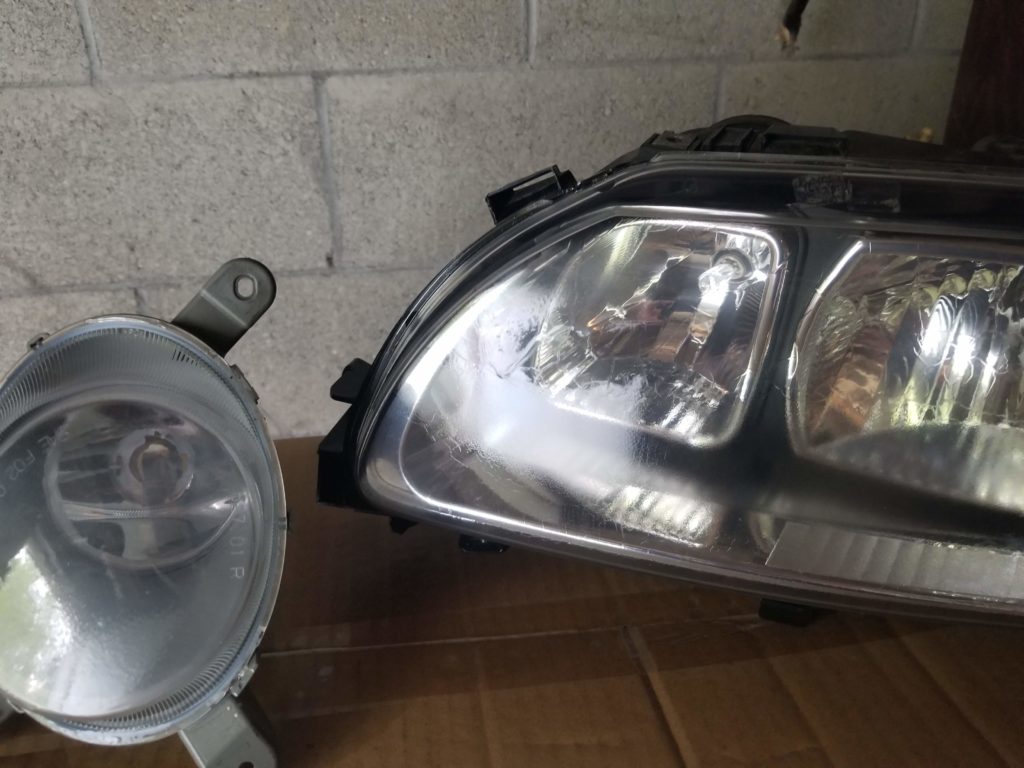
You can see the run and if you look closely, you can see the wrinkling starting on the headlight. After asking around, I got a couple of ideas as to the cause of the wrinkling. The first possibility is surface contamination, the second was an incompatible clear coat. So I sanded the headlight back down with the 500/800/3000 grit series and tried a different type of clear (Acrylic versus Laquer), and made sure to wipe the entire light with 95% isopropyl.
It didn’t work. I did even more research, and found that most people are applying clear after 500 or 800 grit and letting the clear fill the scratches. So again I sanded everything down once again, and ordered a two part automotive clear instead of the Rustoleum I had been using. The results from this were perfect:


And the comparision between brand new and restored:

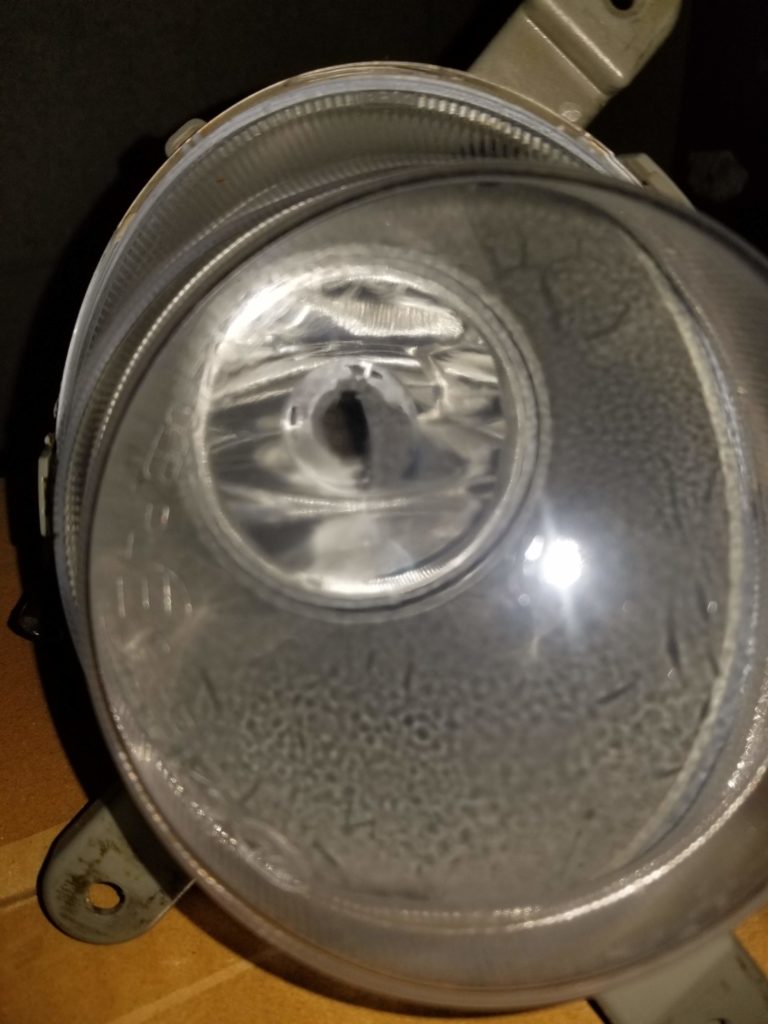
Now, there were issues with the fog light as well. Although the light took the Rustoleum Clear just fine, when I was sanding, I dug into the light and left some deep scratches. I decided that since this was at the bottom of the car, it likely wouldn’t bee noticed unless you were army crawling up to the car:

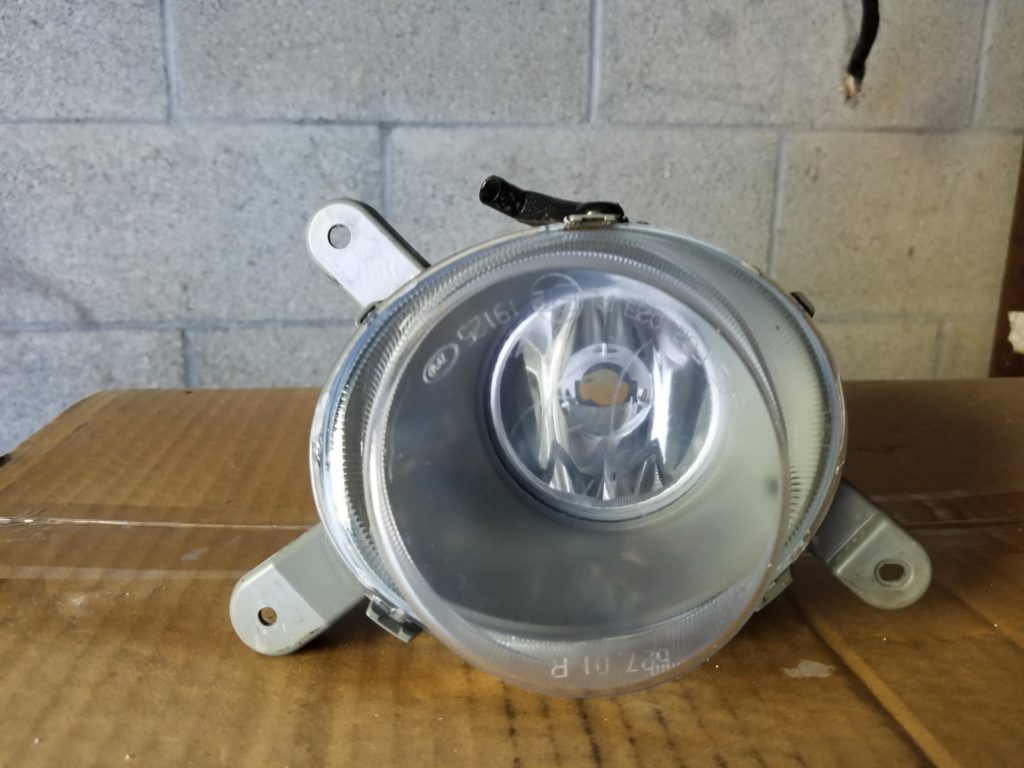
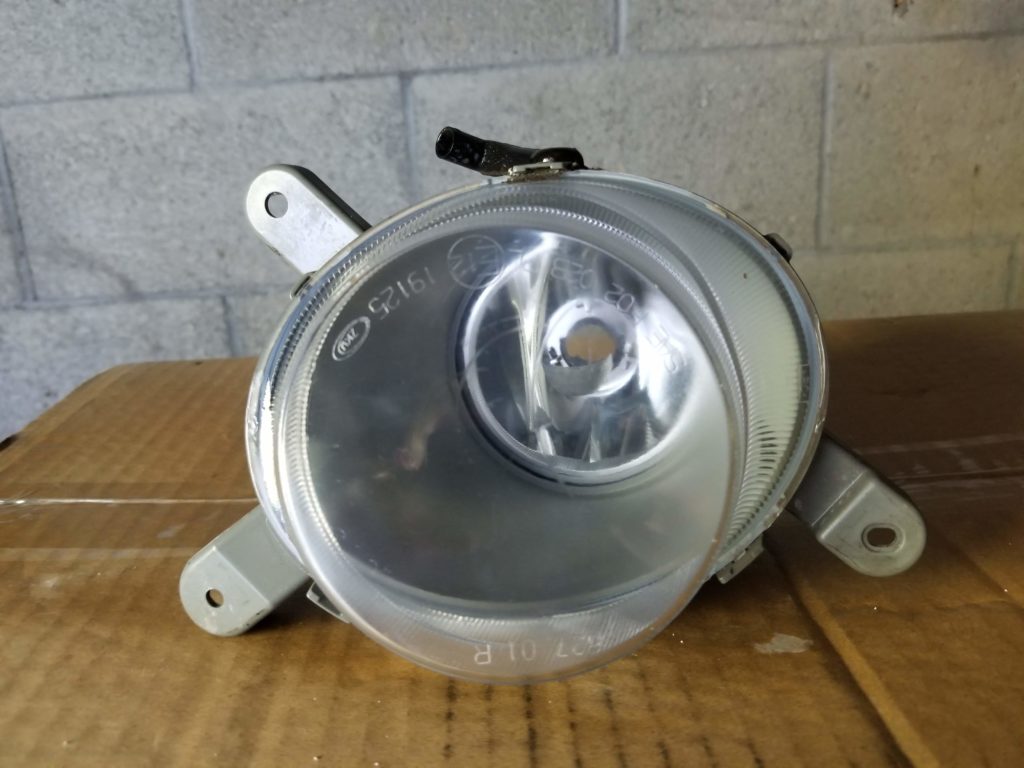
As you can see, there’s a ton of orange peel as well, in fact there was a good deal on the headlight as well. A little bit of color sanding will clear that up, just make sure when you’re applying clear that you put a few extra coats on to prevent sanding through the paint and throwing all your hard work away.
And a couple of old versus new shots:


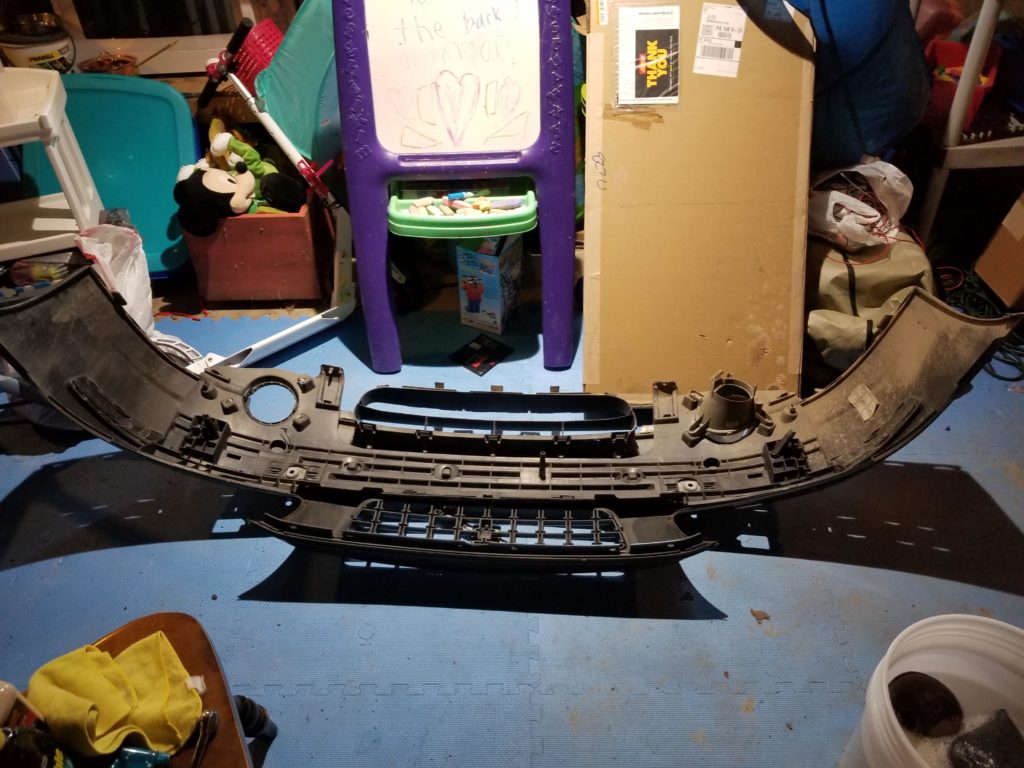
The Next step in the body work was to fix things on the bumper. This required plastic welding the alignment dowel and patching together the drivers side tab. But first, I better clean the back side of the bumper, since I’ll hopefully not be looking at it for another 200K miles!


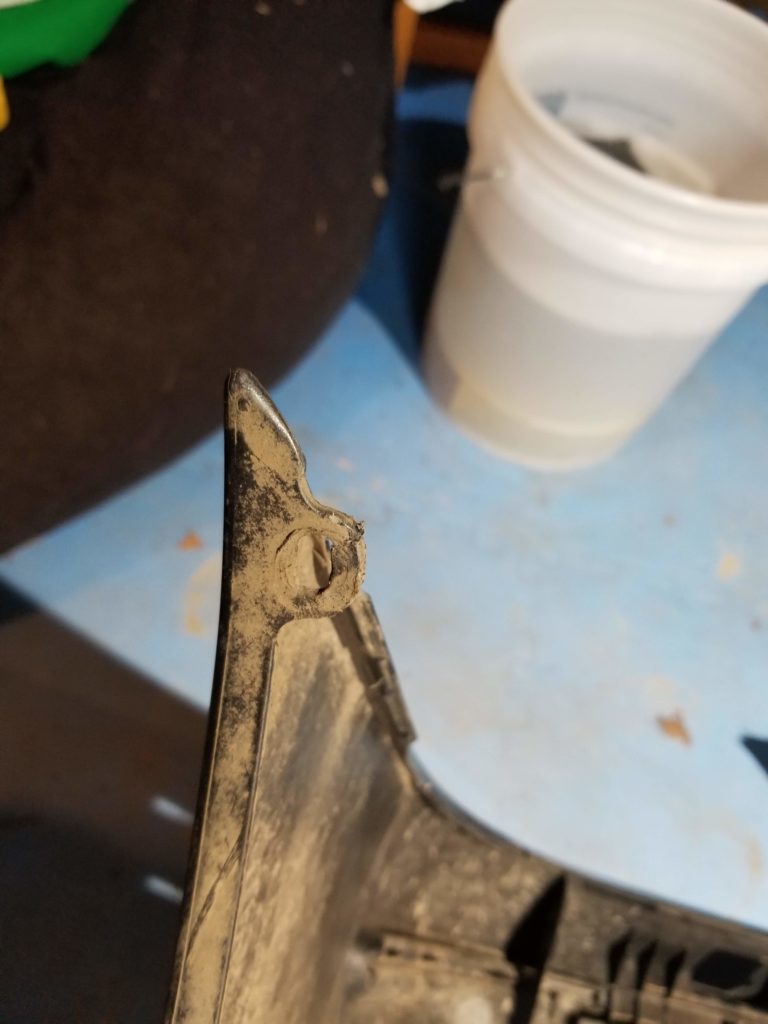
I’m not 100% happy with the apperance of the weld, but it’s structurally sound.

And here it is with the fog lights installed:
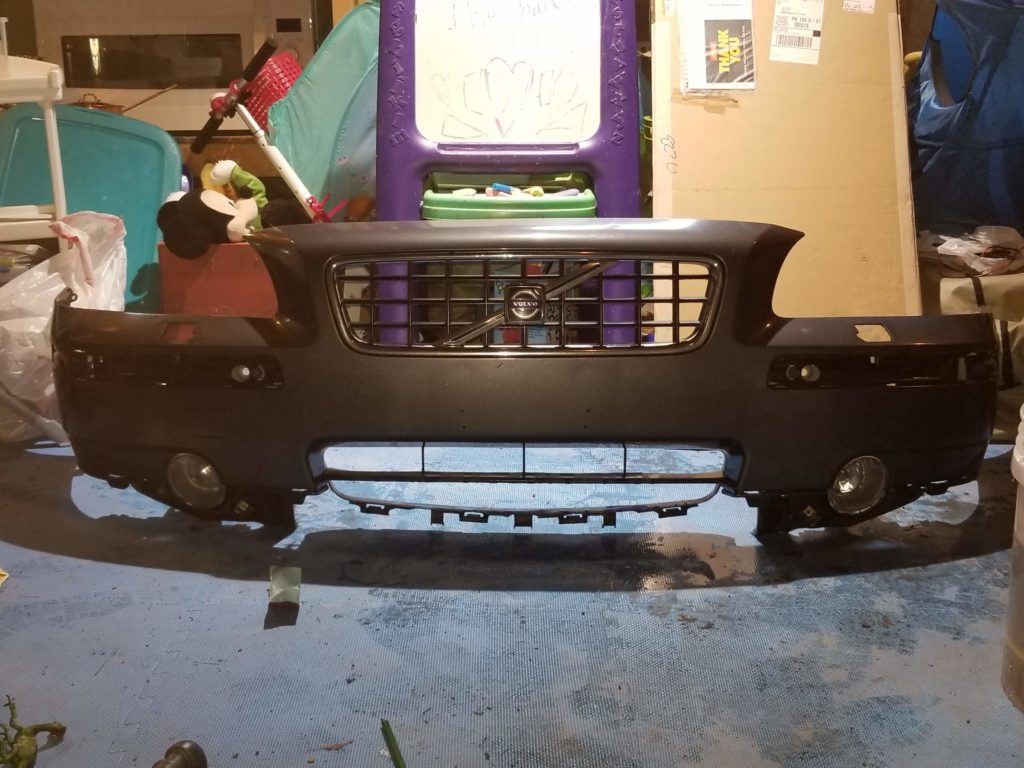
The last thing remaining is the front lip. This is pretty jacked, with multiple tears and broken mounting tabs. Before I just buy a new one, I’m going to give fixing it shot. But that will probably wait until it gets cold here, since it can be done indoors.
At this point, I moved on to the mechanical, I also got a decent video camera, and decided to chronicle the rest of this build on YouTube. So here you’ll see part 1 of removing the radiator: